
Understanding the cannabis grow stages is essential for any grower who wants to optimize yields, avoid stress, and harvest potent, flavorful buds. From the first root breaking through the seed to the final trimming of cured flowers, each stage of cannabis growth requires different care, nutrients, and conditions.
In this guide, we’ll walk you through every stage of the cannabis life cycle—from germination to curing—and include helpful pictures to visualize what each step should look like. Whether you’re a beginner growing at home or an experienced cultivator looking for a quick refresher, this timeline will help you grow with confidence.
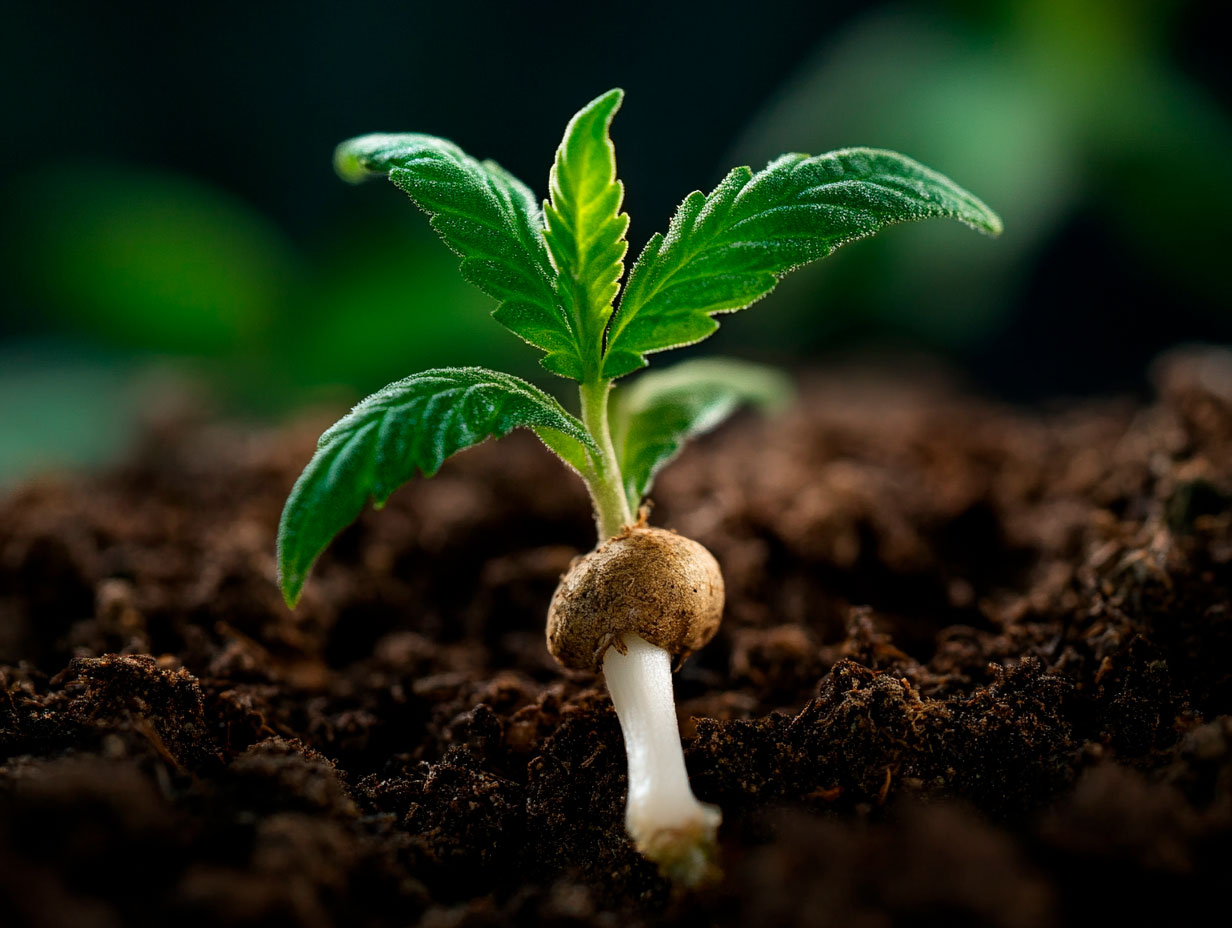
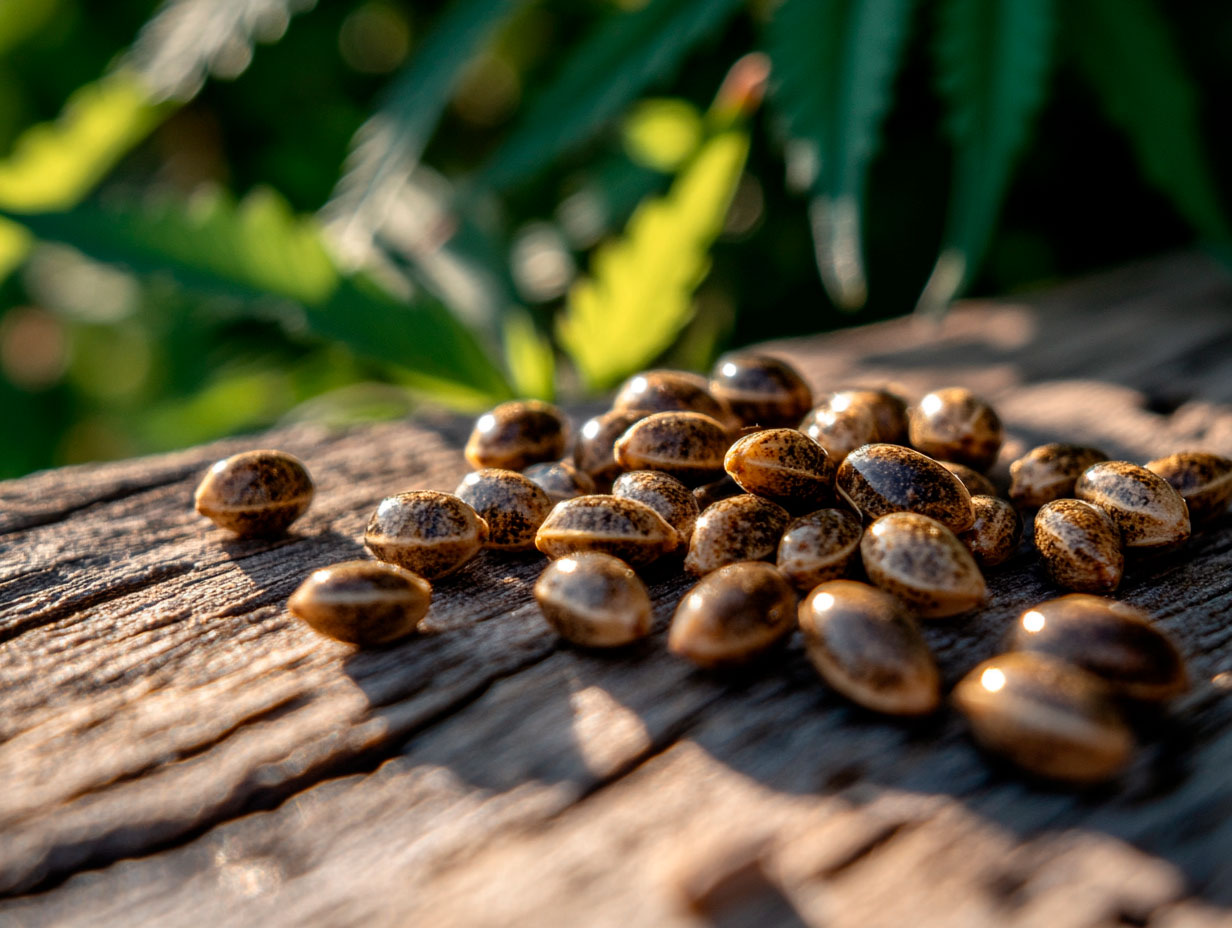
The cannabis life cycle begins with germination, the very first step in the cannabis grow stages. During this phase, the seed cracks open and the taproot emerges. It’s a short but critical stage that sets the foundation for healthy growth.
To germinate cannabis seeds, growers typically use one of the following methods:
Once the root emerges and the seedling pushes upward, it’s time to plant it in its first medium. Keep the temperature between 70–80°F (21–27°C) and maintain high humidity (80–100%) for optimal results.

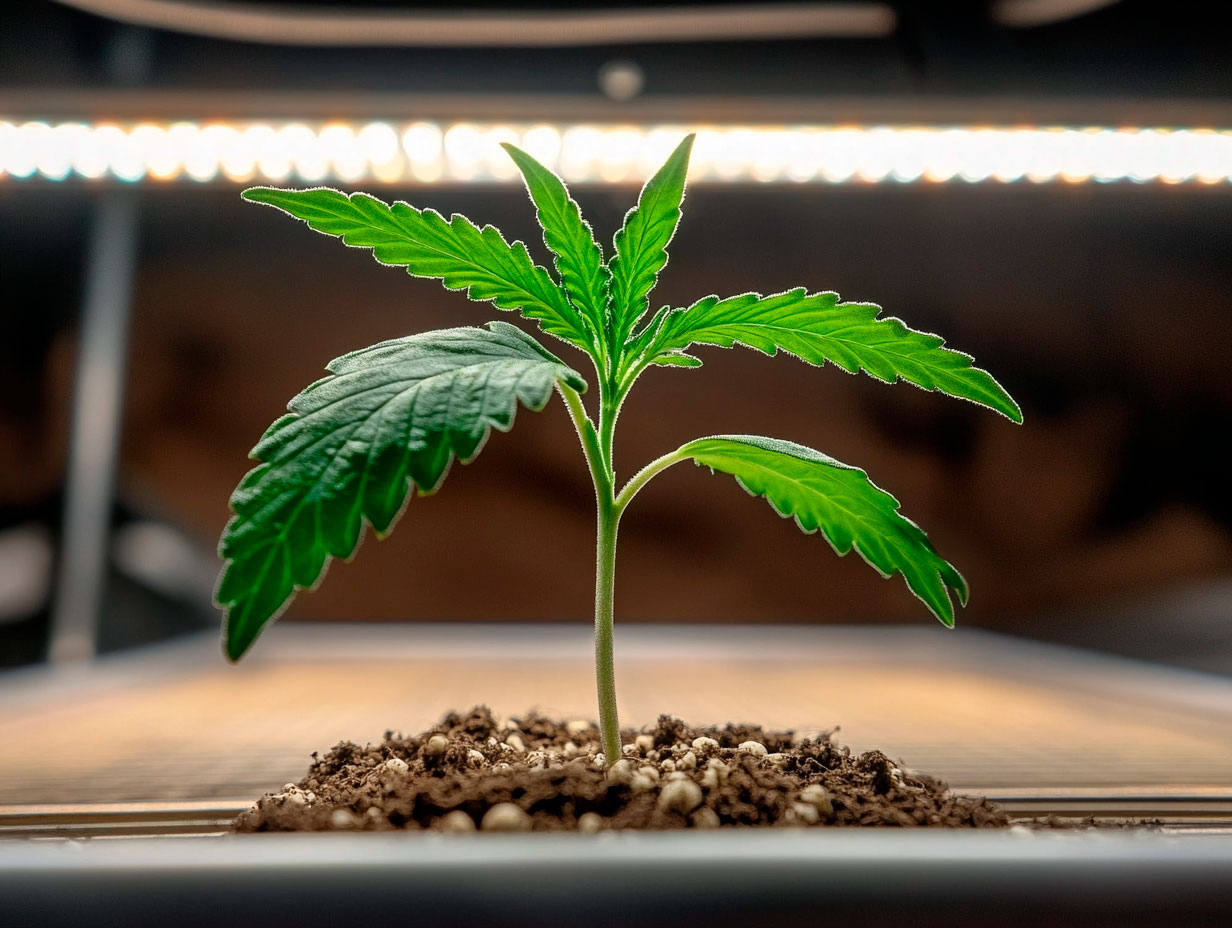
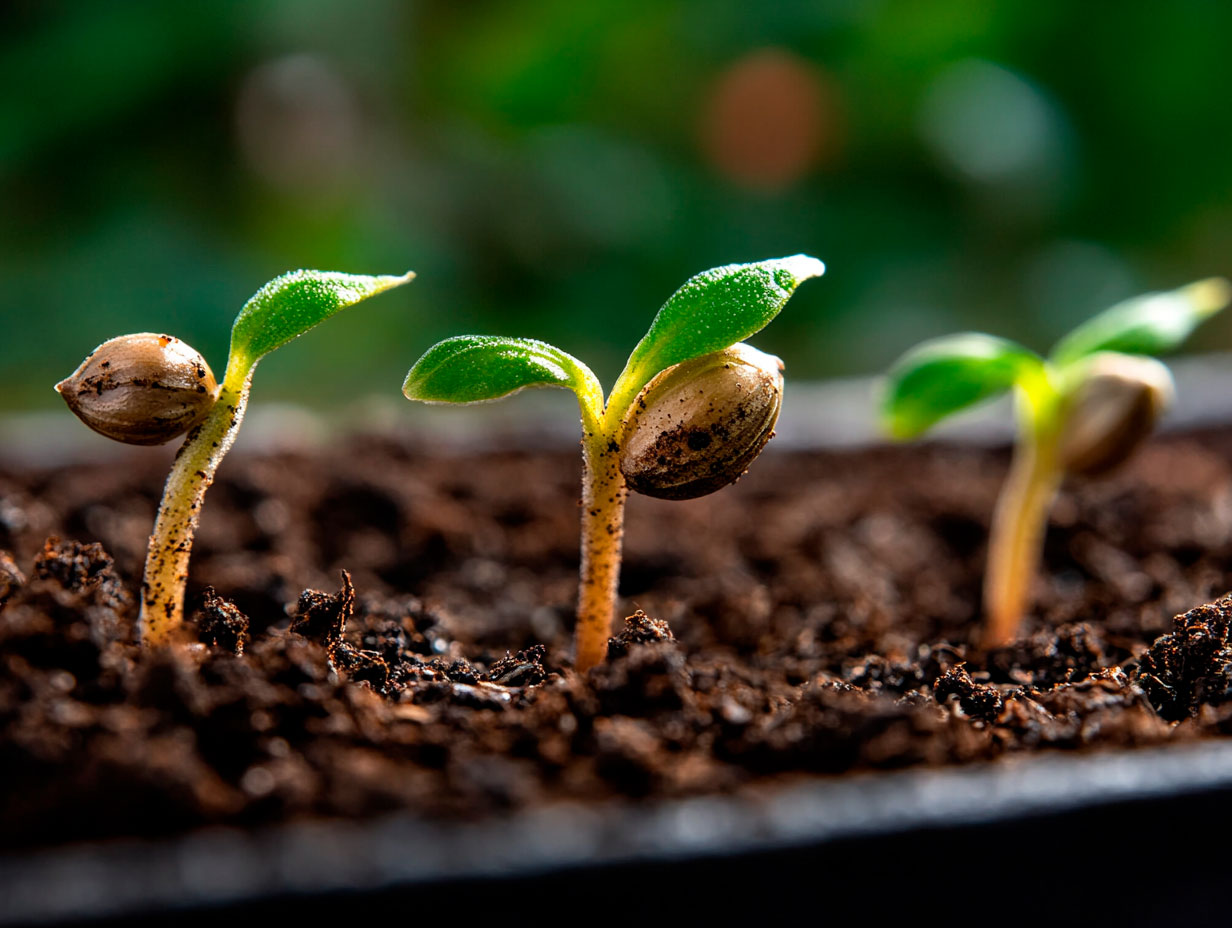
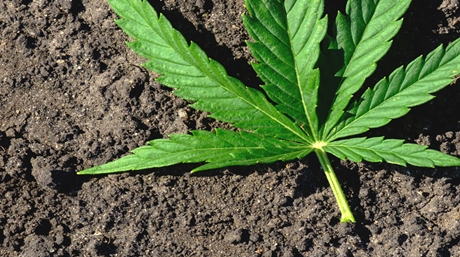
After germination, your cannabis plant enters the seedling stage. This is when the first pair of rounded cotyledons appear, followed by the first serrated true leaves. The plant is still fragile and requires gentle care, but it’s now officially photosynthesizing and growing above the soil.
Key characteristics of this stage include:
Overwatering and excessive nutrients are common mistakes during this phase. Use clean water and keep the medium moist, not soaked. If your plant looks pale, stretched, or stunted, it may be lacking light or oxygen at the roots.

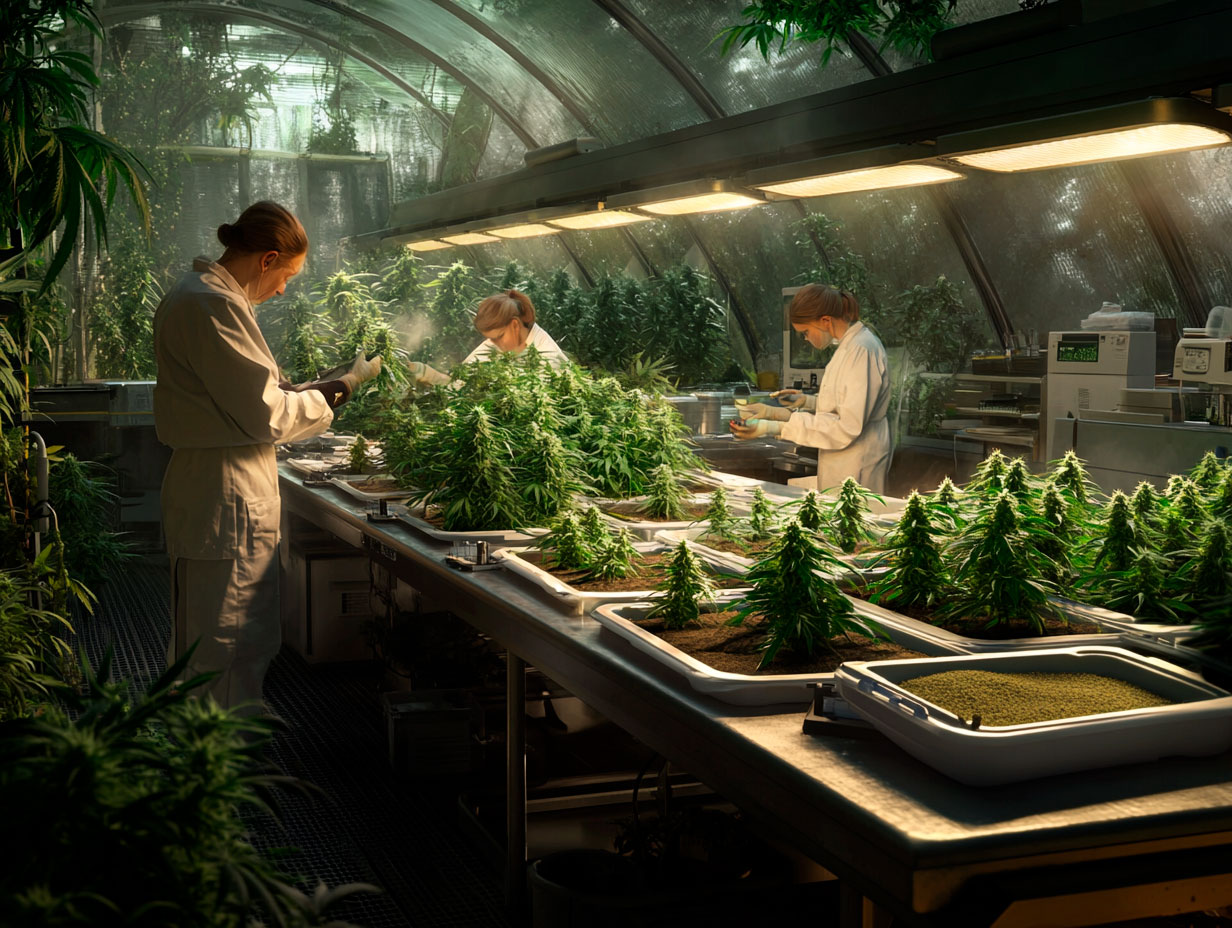
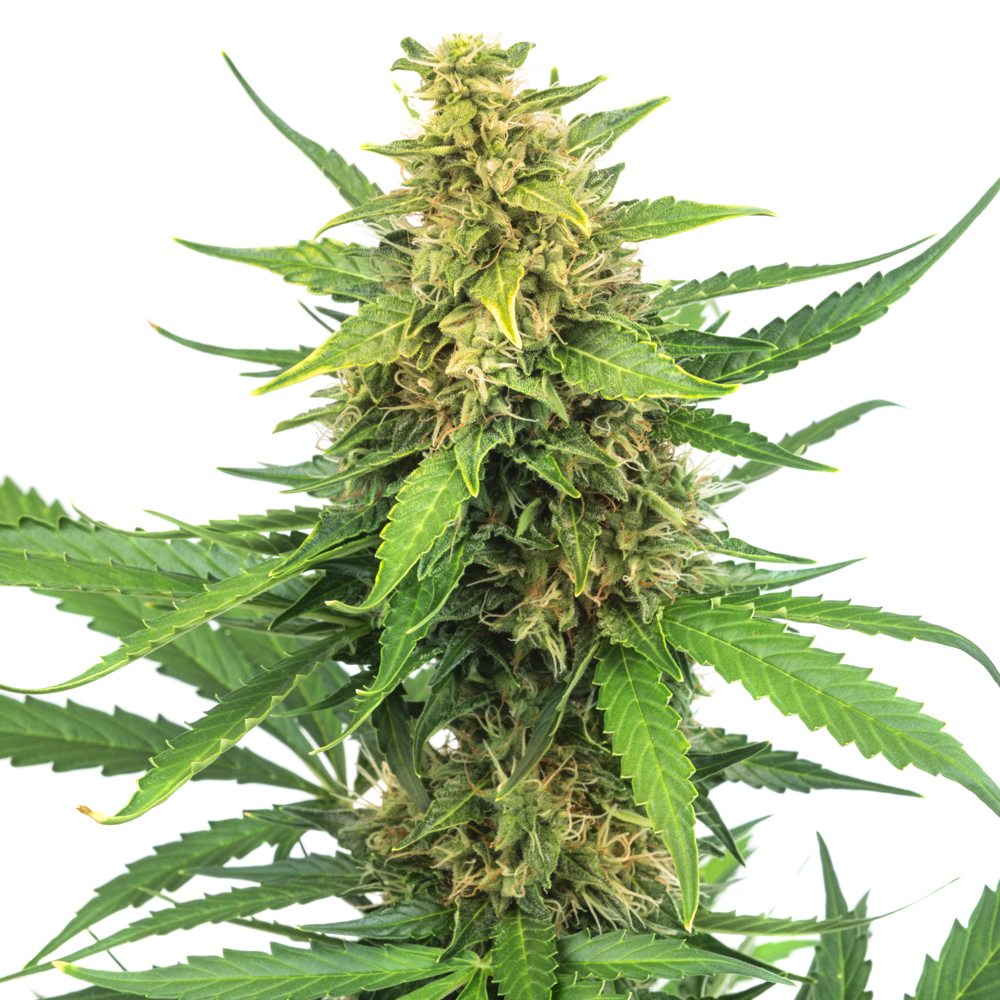
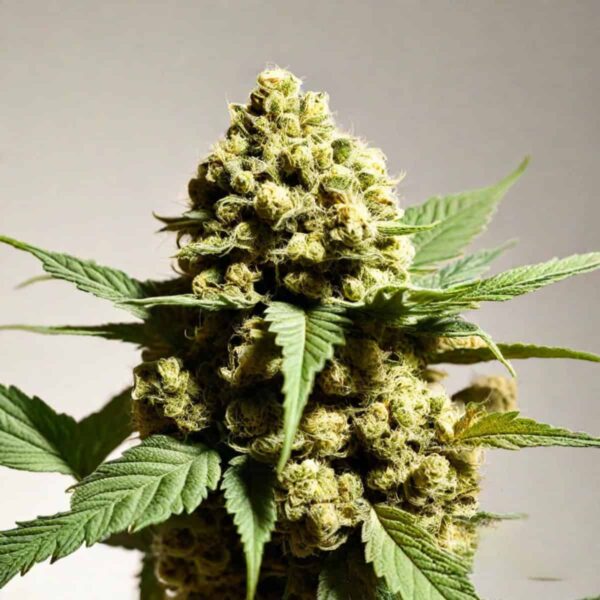
The vegetative stage is one of the key phases in the cannabis grow stages. During this period, your cannabis plant starts growing fast, developing more fan leaves, side branches, and nodes. The plant focuses all its energy on building a strong structure to support big buds later.
Key aspects of the vegetative stage:
Now is also the time to start training your plants. Techniques like LST (low stress training), topping, or mainlining can help you increase yields and manage plant shape—especially in indoor grows with limited space.

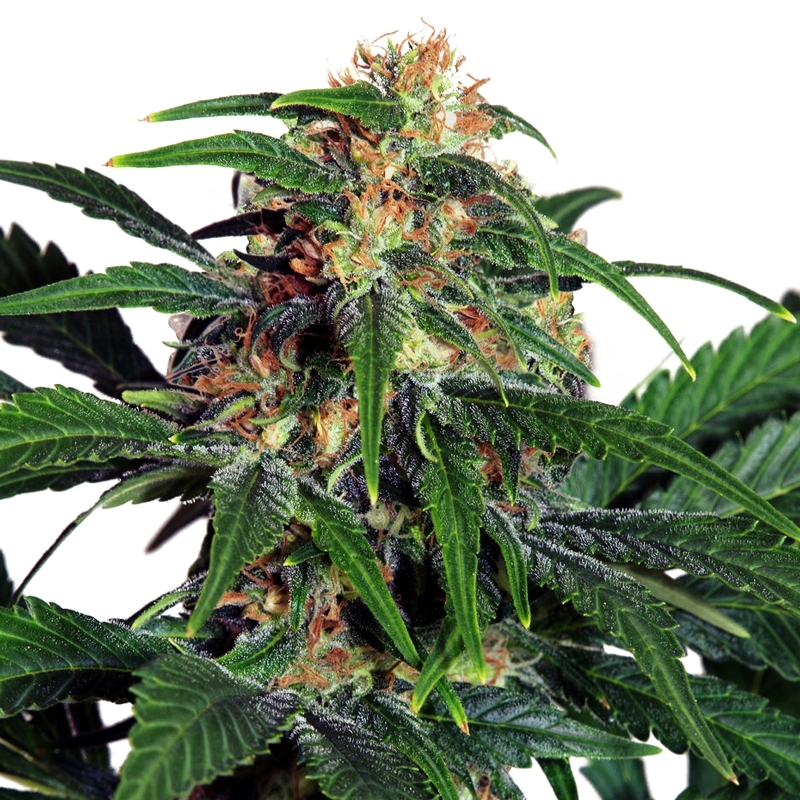
Pre-flowering marks a critical transition within the cannabis grow stages, moving from vegetative growth to full flowering. During this phase, your cannabis plants will show their sex — allowing you to identify males and females if you’re growing from regular seeds.
Key signs of pre-flowering include:
Photoperiod strains will need a shift to a 12/12 light schedule (12 hours light, 12 hours darkness) to trigger full flowering. Autoflowers, on the other hand, will start flowering automatically based on age.

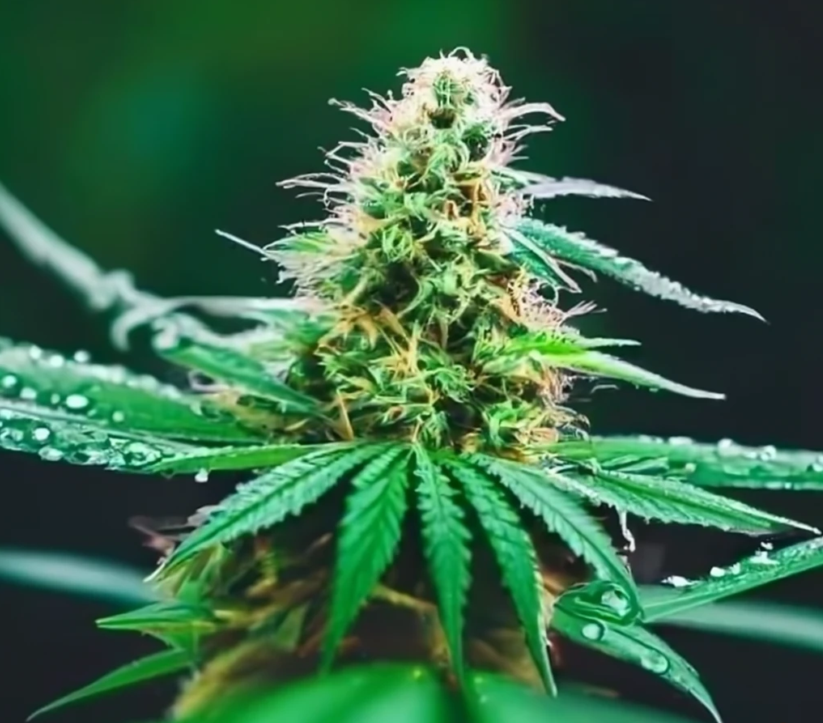
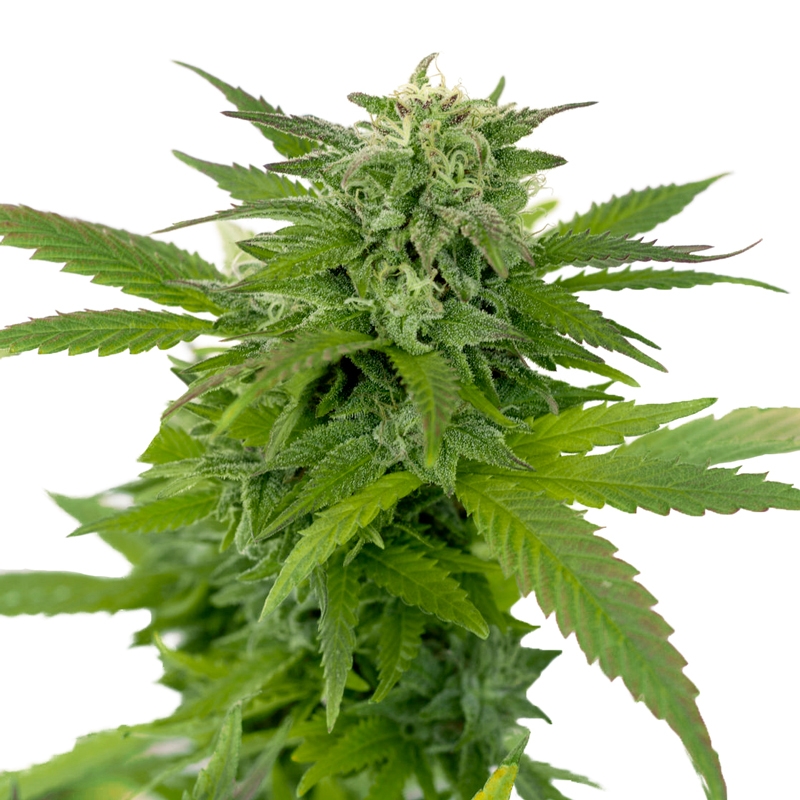
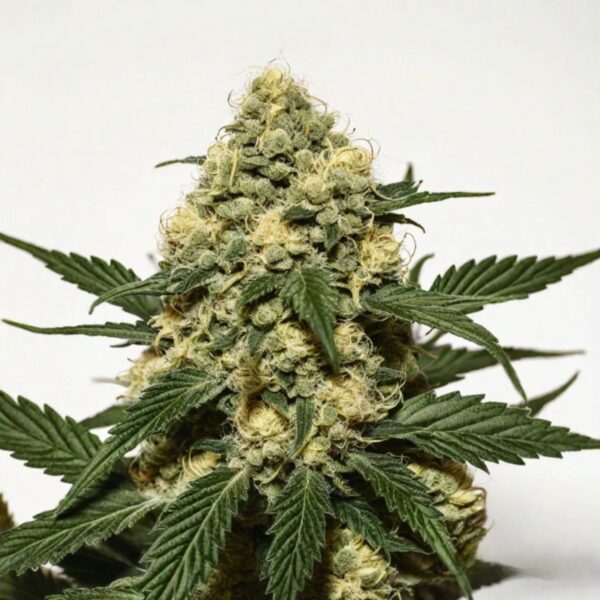
The flowering stage is one of the most exciting and rewarding phases within the cannabis grow stages. During this time, your plant shifts energy into producing buds, but it also requires careful attention to nutrients, light cycles, and humidity to avoid mold or bud rot.
Key points during flowering:
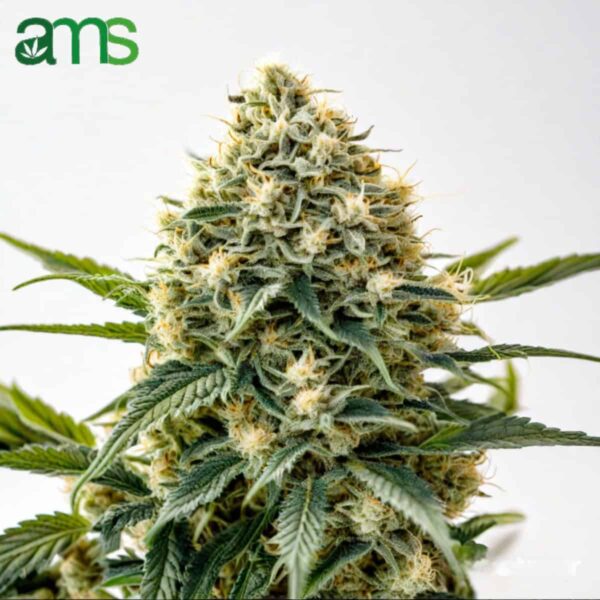
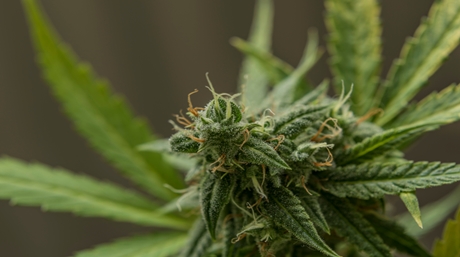
Buds will start forming along the branches, and trichomes (tiny resin glands) will become visible on flowers and leaves. Aromas will intensify, and your grow space will start smelling distinctly “skunky” or fruity, depending on the strain.

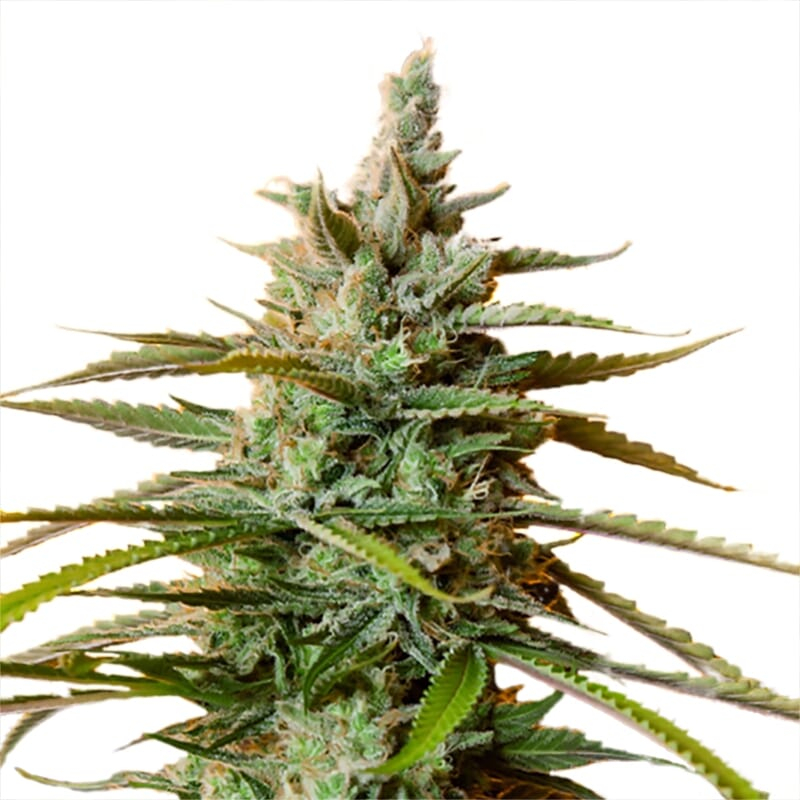
The final two weeks of the flowering stage are critical. Your cannabis plants stop focusing on new growth and concentrate all their energy into ripening the buds, increasing trichome production, and enhancing cannabinoid and terpene profiles.
Key indicators of ripening:
This is also the ideal time to flush your plants by watering with plain pH-balanced water only (no nutrients) to remove excess salts from the growing medium and improve the final flavor and smoothness of your buds.
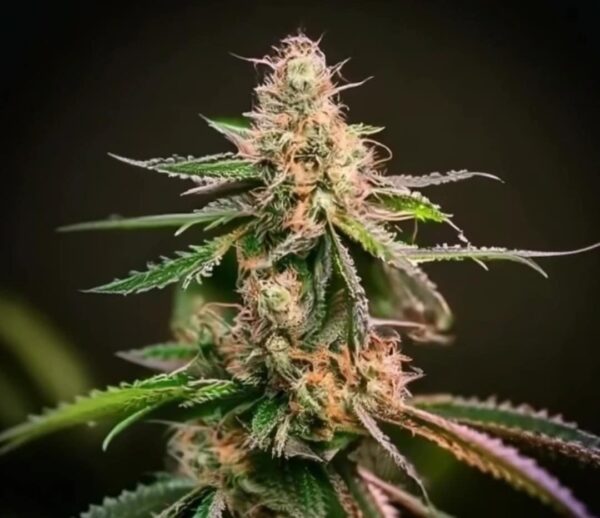
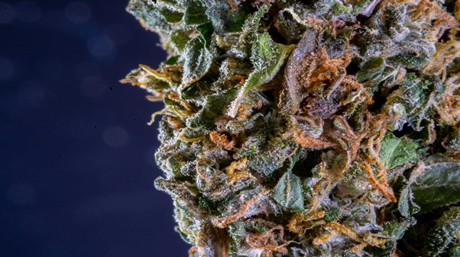
When about 70–90% of the pistils have darkened and the trichomes are mostly cloudy with some turning amber, it’s time to harvest your plants. Proper harvest timing is one of the most critical points in the cannabis grow stages and impacts the final effects — more cloudy trichomes deliver a more energetic high, while more amber trichomes produce a heavier, more relaxing experience.
Steps for harvesting cannabis:
Handle buds carefully to preserve trichomes and avoid losing precious resin. Work in a clean, cool, and dark environment whenever possible to protect potency and flavor.
Drying and curing are crucial steps that can dramatically improve the flavor, potency, and smoothness of your cannabis. Even the best-grown buds can lose quality if these post-harvest steps are rushed or mishandled.
Patience during drying and curing makes all the difference — well-cured cannabis is smoother, tastier, and longer-lasting.
Mastering the cannabis grow stages is the key to growing healthy, high-yielding plants. From the fragile beginnings of germination to the final trimming and curing of resinous buds, each phase requires specific attention to lighting, nutrients, humidity, and care.
By understanding what your plants need at each stage, you can prevent common mistakes, optimize your yields, and enjoy a more rewarding cultivation experience. Growing cannabis is a journey — and with the right knowledge and patience, every step brings you closer to a successful harvest.
Use this guide as your roadmap, observe your plants carefully, and don’t rush nature. The best results come from respecting the natural timeline of cannabis growth.


In the world of cannabis cultivation, several factors play a crucial role in determining the quality and yield of the final product. One such factor that has gained significant attention is the impact of sugar on cannabis plants. In this comprehensive guide, we will explore the effects of sugar on cannabis cultivation and its potential benefits. Whether you’re a seasoned grower or a beginner, understanding the relationship between sugar and cannabis can help you optimize your cultivation process.
Have you ever seen a cannabis plant with bug buds growing above a nylon screen? Well, that screen is referred to as a screen of green or a ScrOG in short form.
Or what about rolling up a doobie and after toking on it realized you have a fertilizer taste in your mouth? This could be because you didn’t flush your plants before harvest.